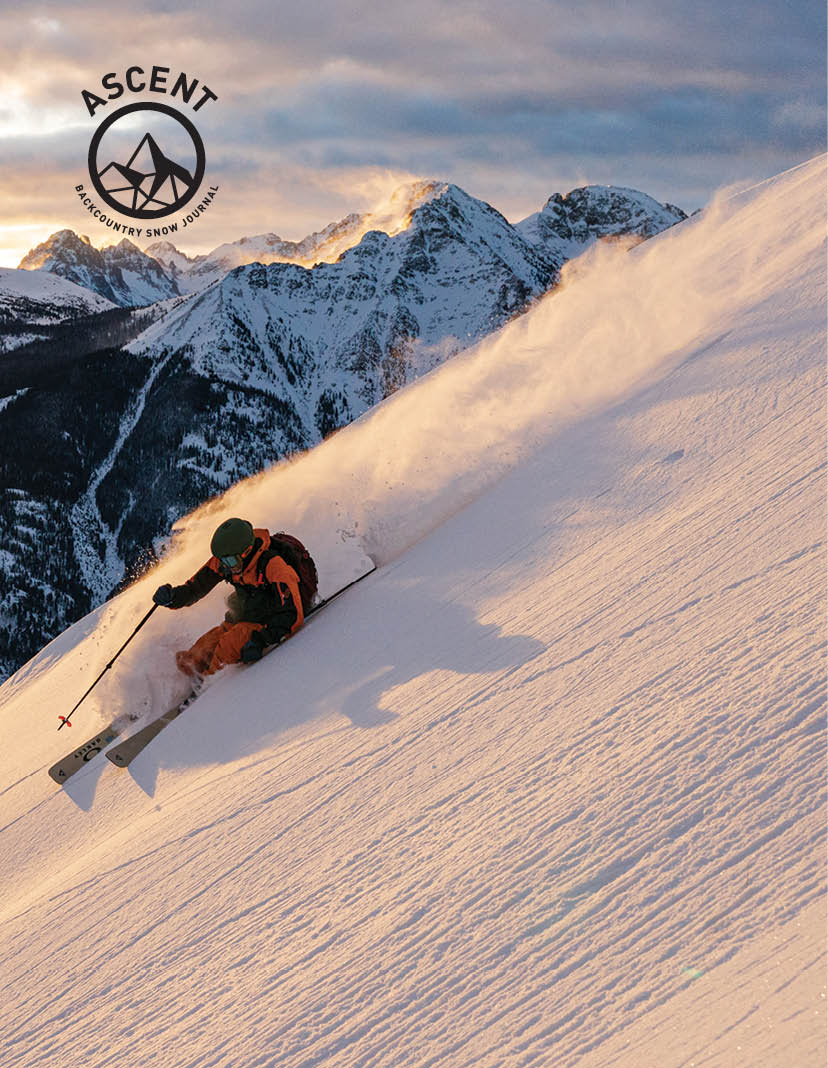
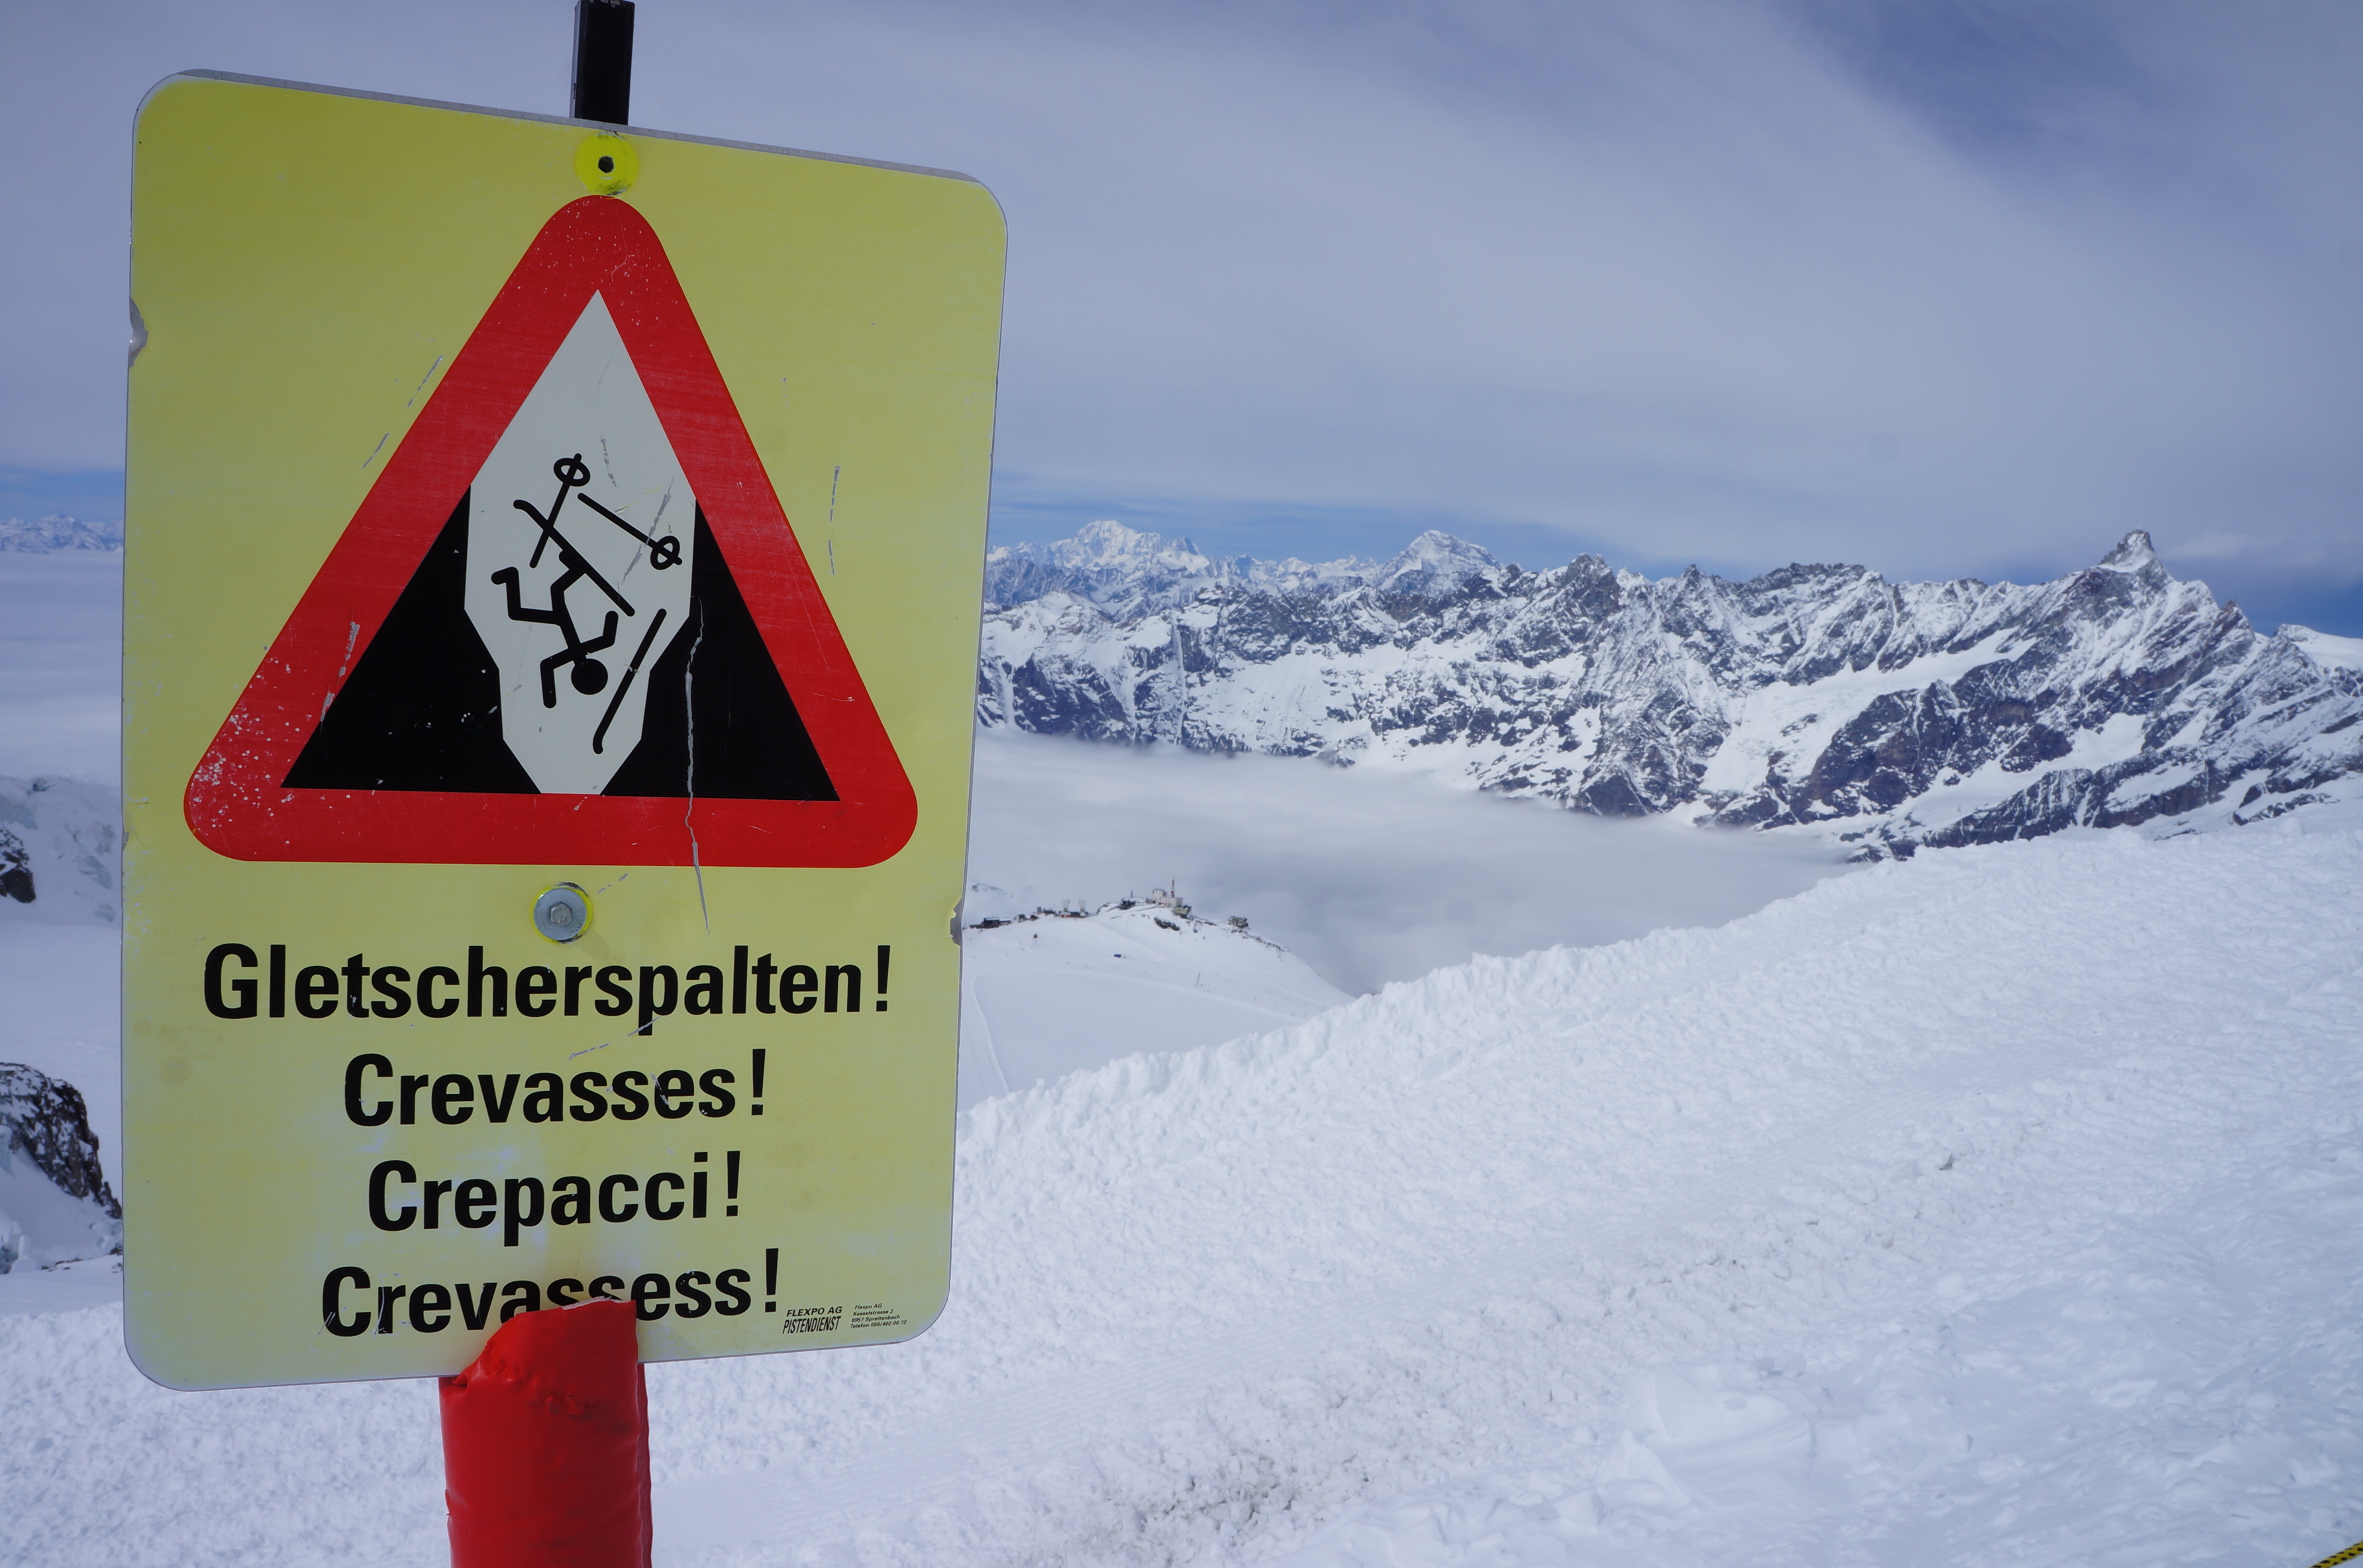
Crevasse falls seem like something dreamed up in a Hollywood horror film: an innocent victim, minding his own business is cruising across a glacier, when suddenly a trap door opens underneath him and, ahhhhhhhh!, he’s falling into the dark, frozen depths of hell to a soundtrack of fingernails on a chalkboard. Although they are not quite as common as getting caught in an avalanche, crevasse falls and cornice collapses are major threats in many parts of the skiing world and some basic precautions go a long ways toward reducing the risk.
Classic crevasses form when glaciated snow oozes over a convexity and breaks like a pane of glass trying to be wrapped around a basketball. Oftentimes, when the snow is elastic like in the European Alps, much of Alaska or on peaks like Rainier, the snow will break in a semi predictable pattern. Other times, when the snow is more brittle, like in the Arctic or Antarctica, it will break into a more random, fractured and difficult to predict pattern. There are also sub categories of crevasses, like a bergschrund or moulins, which form in different places and for different reasons, but may have the same fatal effect if fallen into.

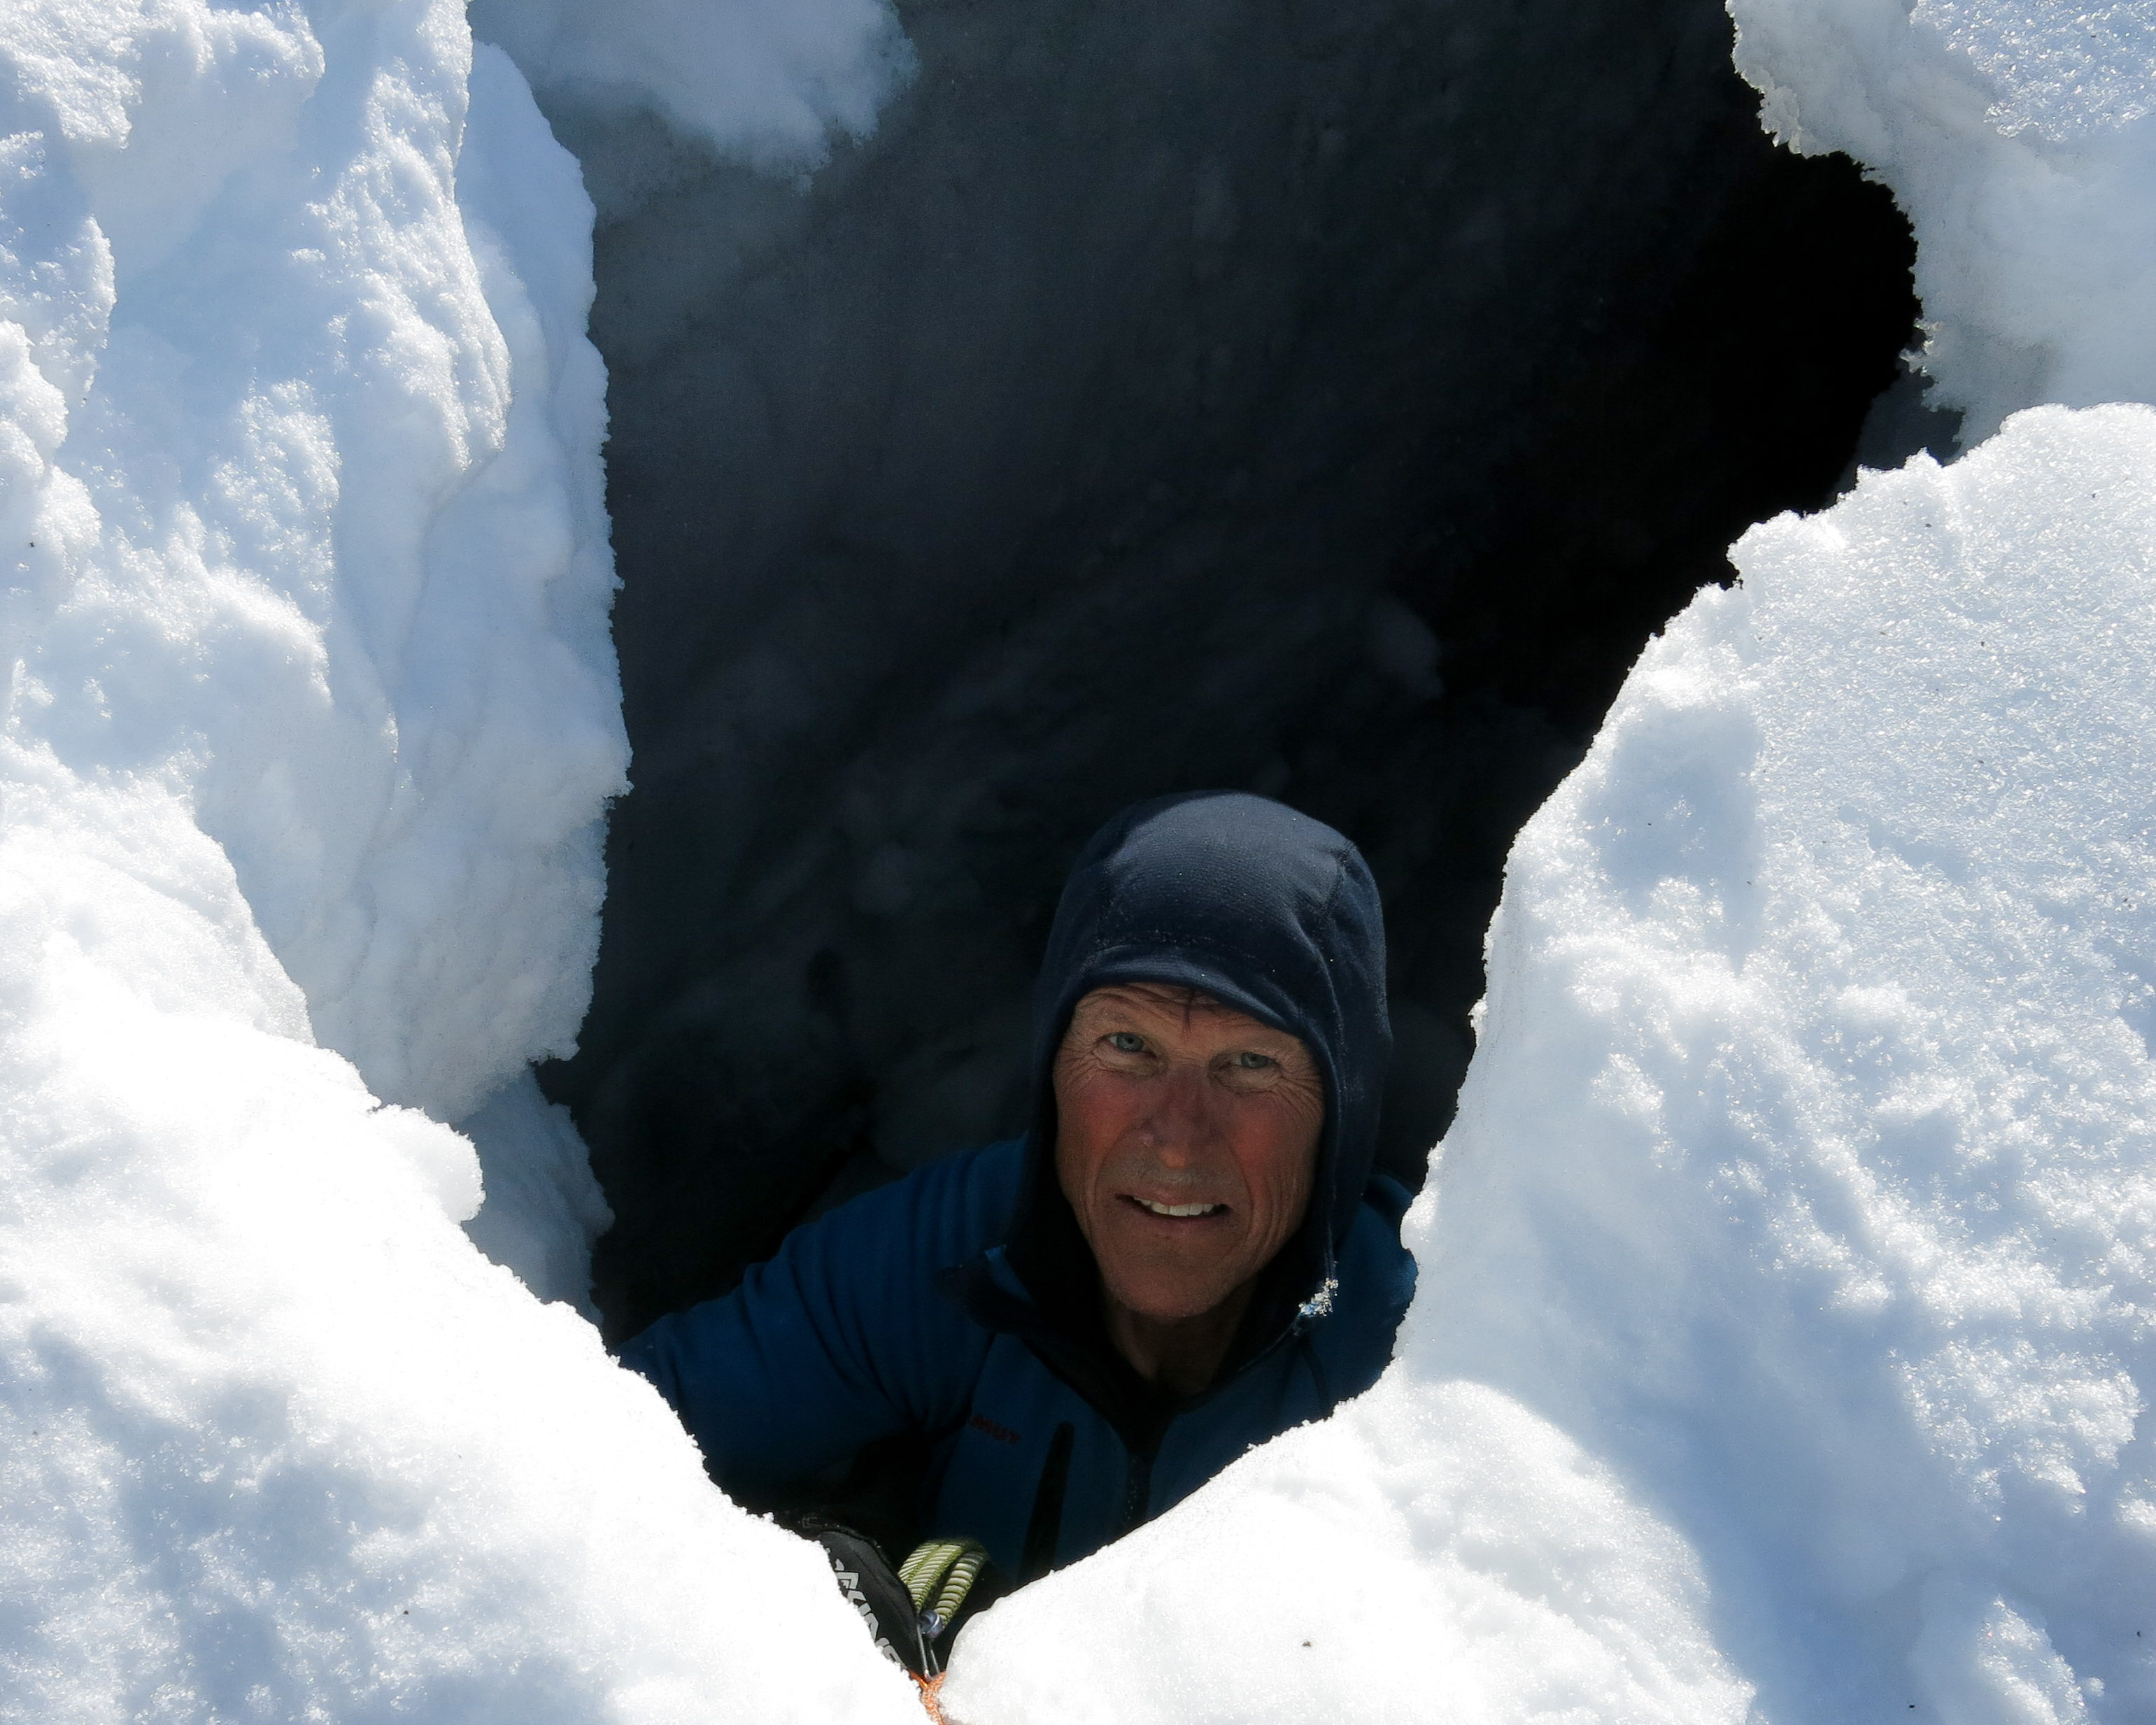
The “trap door” aspect of crevasses happens when wind blows across the top of a crack and forms a ground level cornice, which with time, connects to the other side of the crack and forms a snow bridge. The strength and stability of these bridges is akin to assessing the snowpack – sometimes it is welded tight and other times it can be hair trigger sensitive. Over time, these bridges will begin to sag and become easier to spot as they form natural halfpipes. On a trip to Mt. Bona, Alaska in 2007, a friend got sucked into one of these halfpipes and punched through the bridge trying to escape. On glaciers, halfpipes are not terrain parks.
Of equal danger, but even more insidious as they don’t form obvious snowbridges, are narrow, straight and deep cracks as you stand a chance of “getting corked” which means getting wedged in so hard there is no room to get to your harness to pull you out. Corkage gets even worse as your body heats up the ice and it melts you in even tighter. An easy insurance policy is to attach a runner to your belay loop and clip it off to the top of your pack so that a rescuer can get to it for hauling.

Aside from pogo-sticking, booting on a glacier with a heavy pack is an ideal way to find a crevasse as all of your weight is concentrated in a single footprint. Conversely, skis or splitboards have ten times the surface area and can bridge crevasses, so they are a much safer mode of travel. When transitioning to skins, always keep one ski on at all times.

Roped & Ready
When in doubt (and even when not) it’s always a good idea to rope up on a glacier. Traveling together on a rope forms a running belay, where, although there is no fixed anchor, each team member can hopefully stop or catch one another if one person pops into a crack. When coupled with a rope, breaking through a snowbridge while traveling on skis is usually an exciting, but survivable experience. At first it feels like you’ve lost your balance, then suddenly one foot drops down and you shout “Tight rope! Tight rope!” Most of the time, that’s the end of it – your teammates back up, the rope comes tight and the extra floatation of the skis allow you to step out of it unscathed. One of the key points about roping up on a glacier is to keep the slack out of the rope, so that if somebody does fall in, they don’t generate enough force to pull others in as well. The ideal tension is where the loop in the rope just kisses the snow between skiers. If you do happen to fall in and can still move, bundle up right away as it gets incredibly cold quickly.
People have all sorts of rope preferences, but I prefer to go with two ropes; a primary 9mm x 30m dynamic line and then a back-up 6mm x 30m static. All told, this gives you 60 meters of rope, or a 30m rappel, plus all sorts of other options as well. A major advantage of this system is that two people are carrying ropes, so if the leader goes in a crack with the rope, there is another one available to hopefully pull him/her out.

For the main rope, I like a 9.0mm diameter dynamic cord with dry treatment in a bright color. The dynamic part means that it stretches a bit when you fall on it, which lessens the impact force on the person holding the fall. These ropes also have a nice tough sheath, which is important when people accidently step on it with sharp edges and it also makes untying wet knots easier. The dry treatment is nice as waterlogged ropes gain a lot weight and take forever to dry out. The bright color is important as you can mark the sheath with a pen to delineate halfway or quarter lengths, which is great for quickly setting up even spacing. If you have never bought a glacier rope for skiing, this is a good first choice.
For a secondary rope, I use a Petzl RAD (Rescue And Descent) line, which is a static 6mm cord. The “static” part means that the rope has the stretch of a steel cable, so you have to be careful how you use it and avoid any sort of shock loading. These ropes are approved for glacier travel, but they are expensive, harder to coil, have a fragile sheath, and the tight little mouse knots are difficult to get undone. The main advantage of the RAD line and others like it is that they are full strength, yet half the weight and bulk of a regular rope. This is the rope I usually pass off to someone else in my group in case I go into a hole.

There are entire books worth of information about how to haul people out of a crevasse, but if you are traveling on glaciated terrain, knowing how to set up a Z Drag system is critical as it gives you a three-to-one mechanical advantage. Traditionally, a Z Drag system required knowing how to tie special knots to hold the rope, but now there are small, lightweight locking pulleys and rope clamps which vastly simplify the process as well as speeding it up. The Petzl RAD System provides one-stop shopping for the RAD line, plus all of the other bits & pieces in one tight package.

A good harness is another fundamental part of a glacier kit. Because these are worn over bulky ski clothes and are hopefully seldom hung in, they don’t need padding and should be as lightweight and minimal as possible. I prefer the old style diaper seat harnesses (the classic Black Diamond Alpine Bod Harness) with no belay loop as it allows you to totally drop the leg loops to change pants or go to the bathroom while still staying attached to the waist belt. Add a couple of locking carabiners, a few slings, a 20’ cordelette and an ice screw and you’re in business. The ice screw is used in case you fall into a crevasse to attach yourself to the wall to keep from going any further or to take pressure off of the rope. The walls of crevasses are often hard ice, so I go with a short and basic 16cm screw.
As simple as it may seem, the number one reason for not roping up is that it is a pain in the butt given the generally low odds of actually taking a plunge. The key to roping up is to make it as quick and painless as possible. Adding extra complexity to the system, such as stopper knots, rigging prusik cords, tying in instead of clipping in, belaying people to and from the transition zones, etc., will incrementally increase your safety, but if the time consuming nature of these extra measures keep you from roping up in the first place, they may not be worth it. If you are on skis, roped up and keeping the rope tight, you’ve just eliminated 95% of the danger. When in doubt, roping up in any form is always way better than not roping up and with practice, roping and unroping a team of four is a five minute job.

Cornice Collapses
Fortunately for those of us who live the Intermountain West, crevasses are almost nonexistent, which makes falling into one unlikely. We do however have their mean sibling, the collapsing cornice. Cornices are much easier to identify (they grow on ridges and mountain tops) but they fail by the same mechanism as a snow bridge – weak snow. The dangers with cornice collapses are the risk of a long fall, getting crushed by blocks of dense snow, having the collapse trigger an avalanche, or a perfect storm of all three. Like snowbridges and avalanche slopes, it can be tricky, if not impossible to figure out how strong a cornice is right up to the point that it breaks on you. Whenever possible, it is best to give them a wide berth, however there are also a lot of good reasons why you might need to venture out on a cornice and some basic precautions to making it a bit safer.

Stomping cornices to test avalanche slopes is one good reason to toy with them. Looking over the edge to see if it is possible to get down is another, and a third might be that it looks like a big roll over and you don’t even realize you are on a cornice. Summits often have sneaky cornices where it’s tempting to take just a few more steps to reach the absolute tippy top… which has been the end of more than one alpinist.
While it’s ideal to have a dynamic rope, harness and belay for cornice snooping, it’s not very practical to carry all that around for a day of Wasatch powder touring. Instead, a 50’ length of 8mm accessory cord and some improvising will work just fine. I stash a small stuff sack of rope in my gear bag and only bring it out when I think I might want to drop cornices or find my way into a corniced line – otherwise it stays in the car. I prefer 8mm accessory cord as it is inexpensive and can be bought off of a spool by the foot. It has a lot of elongation to it, so it shouldn’t be used for lead climbing, but for a quick hip belay or doubled up around a tree for a rappel, it is fine, especially if you have to abandon it for some reason. A similar length of old climbing rope will serve the same purpose.

To set it up, tie one end around your waist with a bowline or double bowline and have your partner do the same just like climbers used to do back in the 1950’s. Then, keeping the rope as tight as possible between the two of you, slowly work your way towards the lip. The idea with a tight rope is to minimize a fall, or better yet, catch you if it breaks right at your feet, which is common. I’ll often tell my partner “I’m going to drag you.” just to keep the rope as tight as possible. In open terrain, the two skiers move parallel to each other, but it is better yet if the belayer can find a tree or rock to brace against. A slight upgrade on the single rope system is to bring a locking carabiner, which allows you to tie one end around an anchor (tree/rock), clip into that loop with the biner and then belay the cornice poodle with a Munter hitch.

With practice, roping up becomes second nature, like turning on your beacon or ripping skins. And although roped skinning takes some practice, it eventually becomes an acquired taste that delivers a sound peace of mind. All it takes is one good plunge or a close call to see the light.